
Make: Stenciling Polka Dots
- Posted by magpie
- On February 29, 2016
- 0 Comments
- 1412, home repair, Make, modern home, paint, stencil
What you need:
- Primer
- Light or white paint
- Rolling brush
- Stencil (Note: I used the Firefly Bonnie Christine Wall Stencil at Royal Design Studio Stencils)
- 3M ScotchBlue Tape
- Small paint brush
- Darker paint (I chose Benjamin Moore Coventry Grey at 50%)
How to:
- Prime entire space using primer paint and roller.
- Paint entire space with light color using roller and let dry. I used white.
- Tape off and protect your ceiling line, the adjoining walls, and baseboards.
-
Start with the main stencil design positioned so that the laser cut writing is face up and at the bottom. Push the top edge of the stencil into the ceiling line. The stencil contains a few elements on each side that are laser cut with registration marks (indicated in orange in step 2).

Image via Royal Stencils website
After stenciling your first repeat, move the pattern down or over and use the registration elements to align the pattern exactly. Continue around your wall or room until all of the pattern is completed.

Image via Royal Stencil website
Cost:
Using paint and painting materials I had repurposed from other projects, this project didn’t cost me more than the $30 stencil. Make sure to see if there is promo code before purchasing. I saved a few bucks!
-
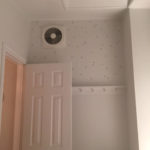
- After
-
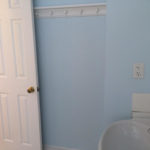
- Before

Upclose

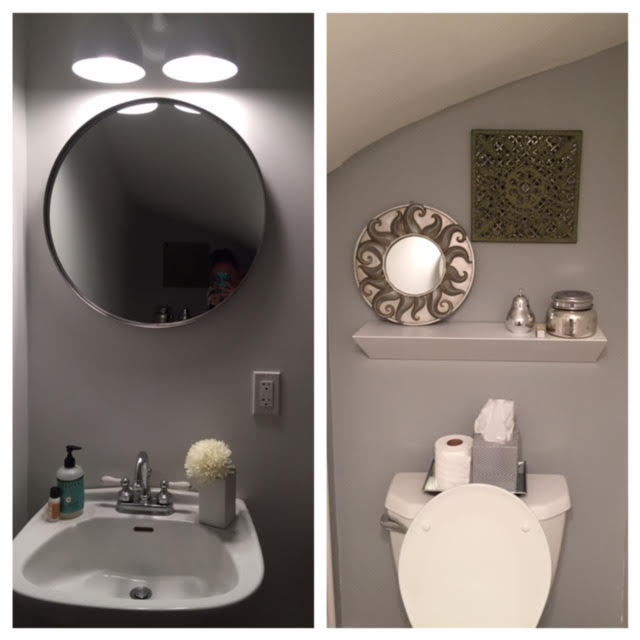
A step back

0 Comments